This article may contain affiliate links. For details, visit our Affiliate Disclosure page.
The word ‘fundamental’ refers to the core of anything. In the case of pitching a baseball, it is the necessary step that every baseball player must take before throwing the ball for the batter to try to hit it. Whether you are a young beginner looking to get your game right or a baseball enthusiast who wants to know the basics, this article will show you how to pitch right. Continue reading to learn more. Let us know “Fundamentals Of Pitching In Baseball”
Fundamentals Of Pitching In Baseball
Pitching in baseball has some basic or fundamental steps you must follow, which include gripping the ball, starting stance, windup, pivot, leg lift, stride, and follow-through. The ultimate goal to becoming a better baseball pitcher is to practice these styles on consistent basis because you can’t pitch correctly without following the steps.
What Are The fundamentals Of Pitching In Baseball?
Ball Grip
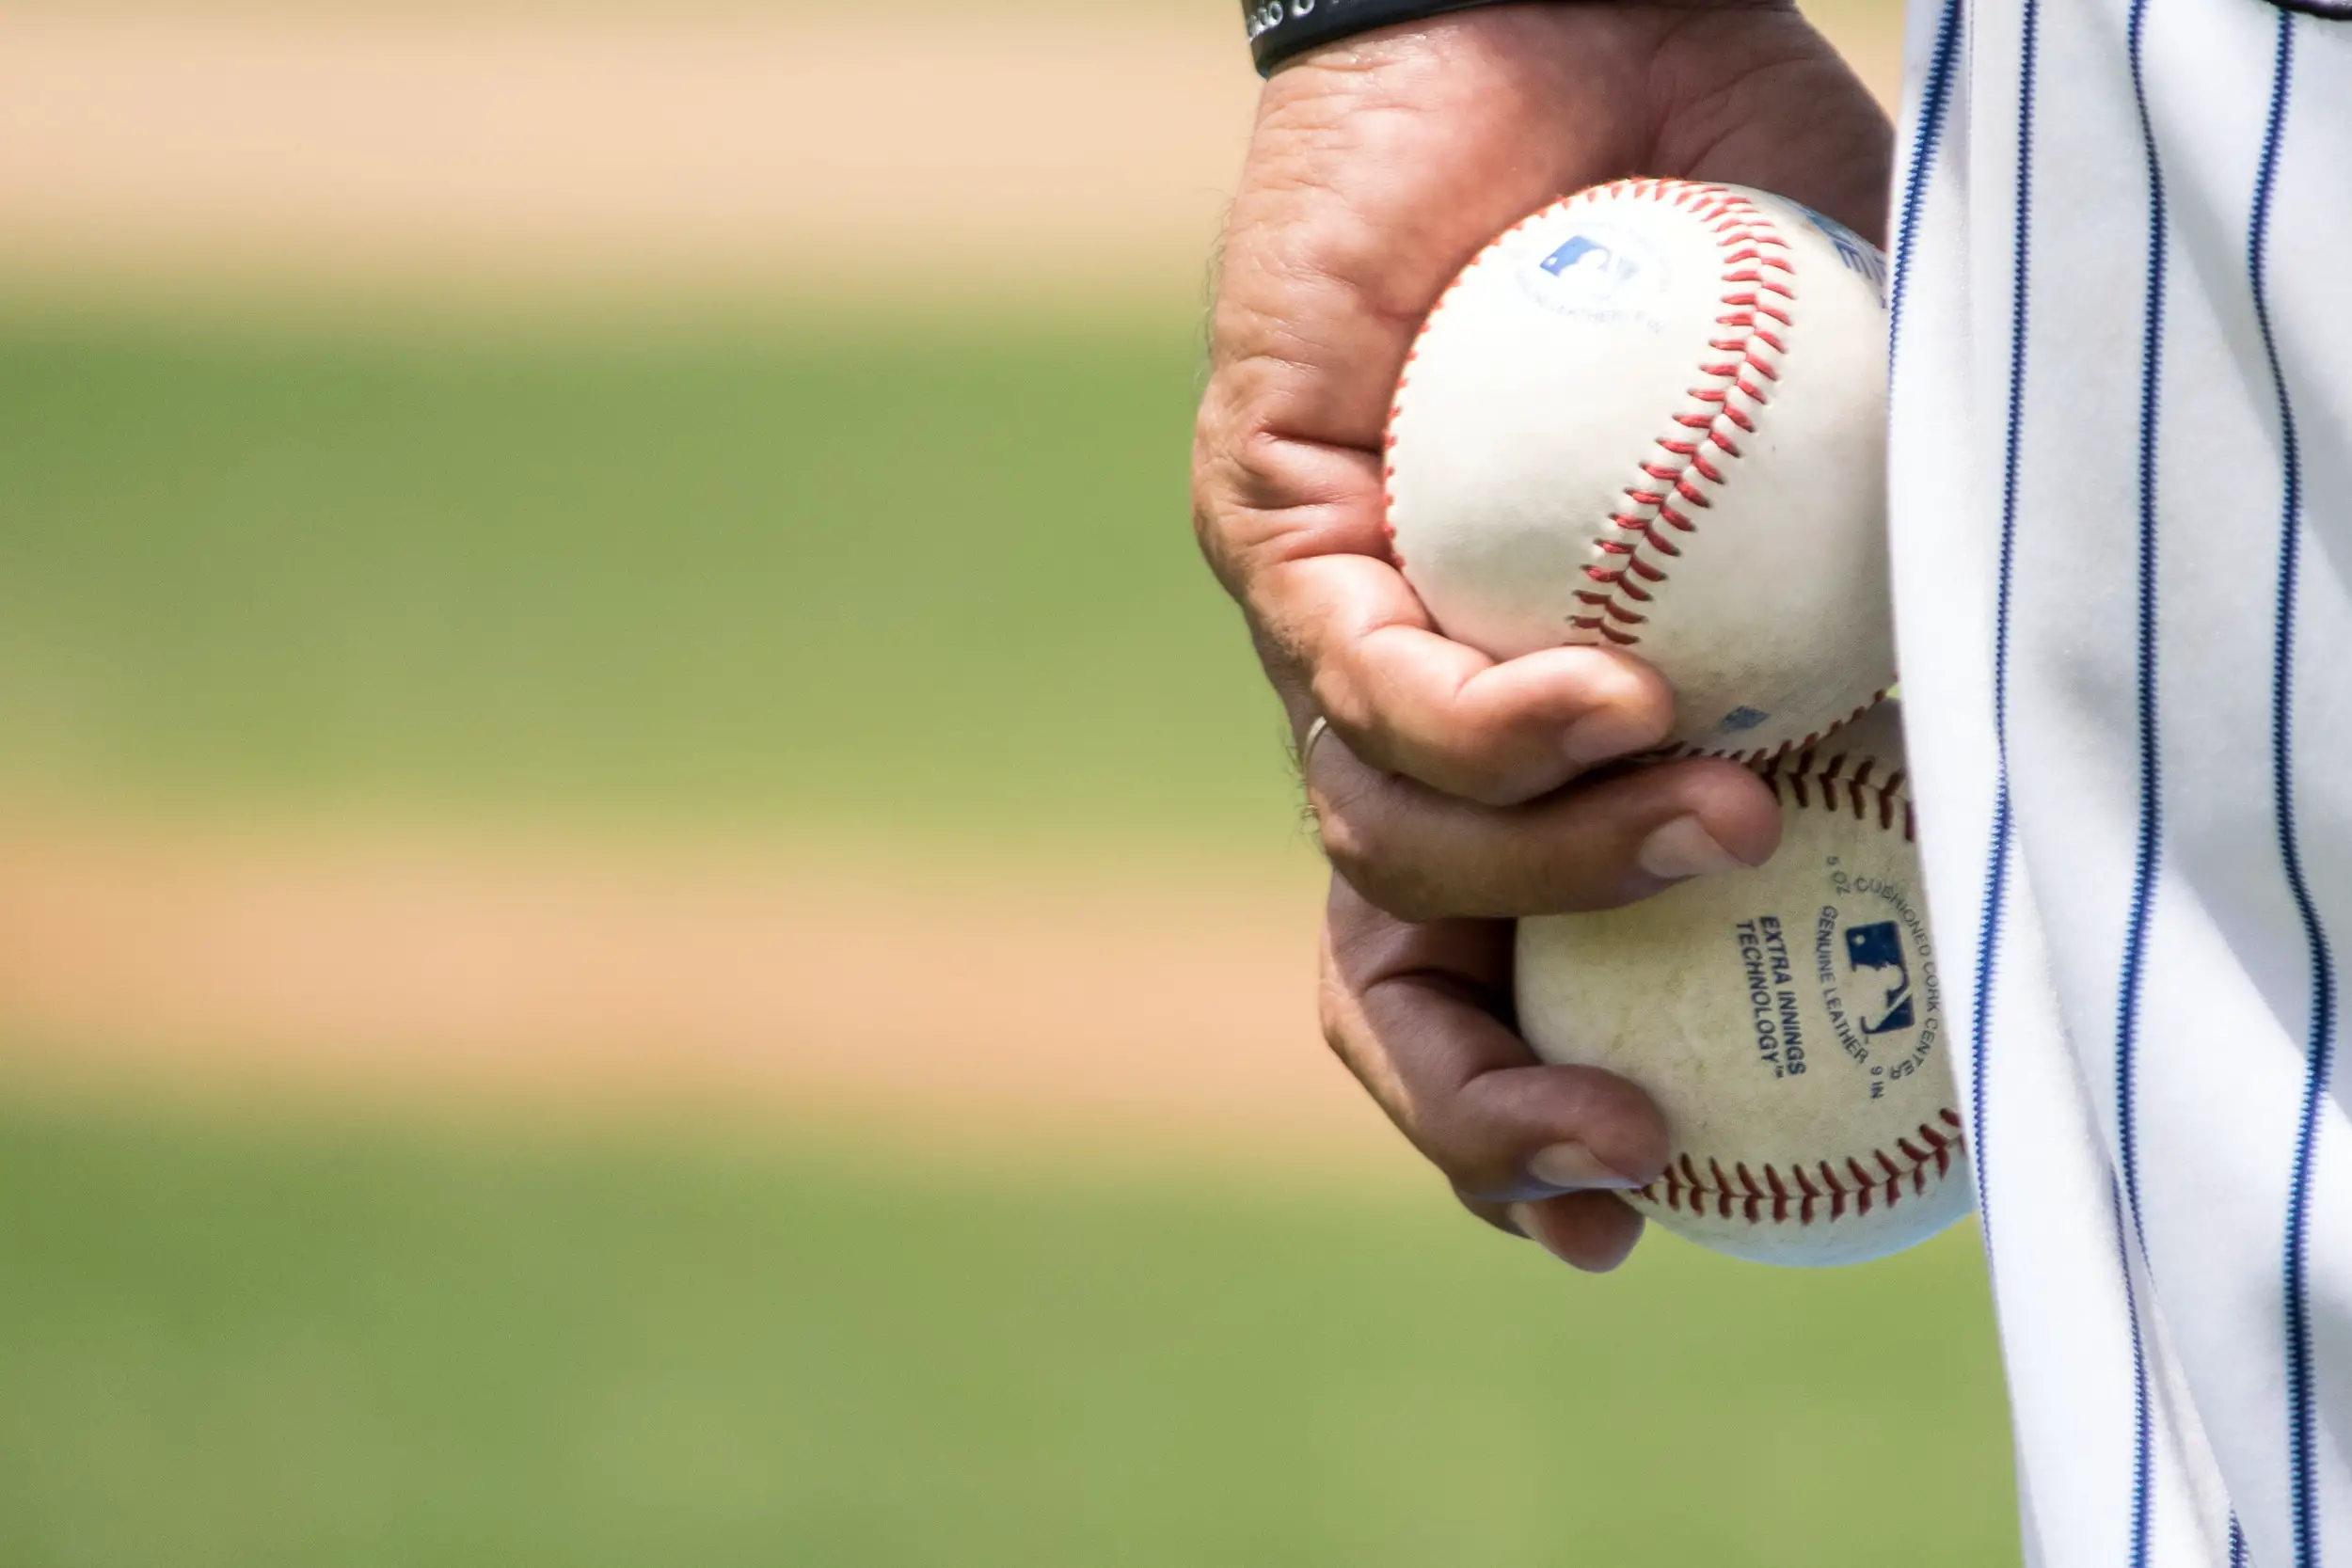
Most beginners like you have mistaken gripping the ball for squeezing it hard. When we talk about ball grip, we are not referring to how hard you hold the ball, but the tactics you use in holding it to make sure you have a firm but comfortable grip that wouldn’t interfere with the ball’s movement, accuracy, and speed when you throw it. Remember, the right way to grip the baseball is by holding it with your fingers and not cupping it in your palm.
How you grip your baseball will determine how hard the throw will be. Every player has their preferred gripping methods; you can play around with the various gripping styles until you find the one you are most comfortable with.
The different gripping styles commonly used in pitching include;
Four-Seam fastball
This is one of the easiest grip styles that is commonly used even by professional baseball players because of how straight and fast the ball moves when thrown. It involves placing two of your fingers (usually the index and middle fingers) between the ball seams and the edges of the other fingers slightly over the seams.
Three-Finger Changeup
The Changeup pitch style is unique, and any player who masters it will not only leave the batter confused and defeated, but becomes a valued asset on the diamond. The three-finger changeup involves placing your index, middle, and ring fingers on the top of the baseball while your thumb and pinky finger act as a place of rest for the bottom of the ball. If you have a small hand, the three-finger changeup may be difficult for you; nevertheless, you can still practice and master the trick.
Two-Seam Fastball
The two-seam fastball pitch style is almost as quick and accurate as the four-seam fastball, but moves at a lesser velocity; nevertheless, the fact that it curves following the direction of the arm you use in throwing it will make it difficult for the batter to hit. Place your index and middle fingers on the top of the ball where the two seams almost meet.
Curveball
If you plan on keeping your batter off balance, the curveball grip style is your go-to. Most professional baseball players also use this style; so if you’ve seen a player put down two fingers before pitching, he’s signifying that he is about to pitch with a curveball style. With a curveball grip style, you will have your middle and index fingers as close to each other on the ball as possible and throw as you would normally, but snap and spin your wrist as your throw.
The Starting Stance
As mentioned earlier, pitching goes beyond throwing the ball, it also involves getting your body balance right so that you can throw effectively. When you stand with both feet on top of the rubber, ensure that you have a good balance and that your shoulders stay relaxed and squared to the plate. Also, your toes shouldn’t be on the rubber; instead, they should slightly be in front of the pitching plate. Furthermore, keep your feet a little wide apart so that it is almost the same as your shoulder width.
Remember, getting your starting stance or standing position right will influence your delivery. While most professionals will stand on the throwing hand position of the rubber (left-handed pitchers will stand on the left side of the rubber and right-hand pitchers will stand on the right side of the rubber) to get a better throwing advantage, as a beginner, stand in the middle and interchange between sides as time goes on until you find yours.
Windup
Place the opposite foot of your pitching hand in front, facing the catcher. If you are a right-handed pitcher, your left foot should point towards your catcher, and for a left-handed pitcher, your right foot should point towards the catcher. Whatever foot you are putting forward, ensure that the heels remain on the rubber.
Once you are in the windup position, perform the rocker step by taking a small step back with your free foot (about 3 to six inches back at a 45-degree or 90-degree angle), transferring some of your weight from your pivot foot to it.
Pivot
This is where the pitching motion begins. Since most of your weight now lies on your free foot, place your pivot foot parallel with the pitching rubber to create a balanced position for moving and throwing effectively. With your eyes on the target, shift the weight from the free foot back to the pivot foot and raise the free foot in the air.
Leg lift
In this position, ensure that your hip bone points to the plate before you lift your knee. When lifting your knee, your toe should point down slightly without moving your calf. Additionally, keep your hands in the middle of your body to maintain balance and concentrate on the target.
Stride
Your stride can determine the velocity of the ball, so work towards giving a good one. The basics of an ideal stride involve extending yourself to a length of 80% to 90% of your height. Drive your back foot off the rubber and take a leg kick to stride toward the plate. Ensure that your hips and glove-side foot remain closed during the process and open it up and point it to the plate after the striding foot lands.
Follow Through
As you release the ball, extend your arms as far as you can and release the ball. Bend your upper body at your waist with your knee slightly bent to support the weight transfer. As you release the ball, make your throwing arm snap across your body to prevent injuries. Also, swing your pitching foot to a position that squares you up with the plate.
Conclusion
Now we have learnt “Fundamentals Of Pitching In Baseball”, Professional baseball players indeed make pitching look easy, but once you are on the ball field with a baseball in your hand, you will understand how much work goes into throwing the ball as required. As a beginner, knowing these basic steps will help you understand what you need to do to pitch right, and practicing them consistently either on your own or with a team will help improve your ability to throw hard and right over time.
FAQs
What is the best gripping style for pitching?
The four-seam fastball is the best ball grip style because it offers better balance and control that improves its velocity and your throw accuracy.
What is the maximum knee height during leg lift?
Your knee should be above your waist level, somewhere between 60% and 70% of your general body height.